Tears and holes in sheer fabrics are one of the hardest repairs to carry out successfully in my opinion. Patching and darning are no good unless the repair is in an inconspicuous area of the garment, and if anything can make the repair more noticeable. Sewing the edges of a rip or split together can just put extra strain upon the fabric and eventually make more holes in the fabric.
Usually the best solution is to disguise the damaged area instead of trying to make an invisible repair that’s not in any way invisible. I’m going to show you a dress I worked on today which is a beautiful 1930s organza dress with broderie anglaise inserts and a pretty gathered bodice. The dress had two large splits in a panel at the back of the skirt. I’m going to try show the repair in easy steps so you can follow it even if you don’t do much sewing.
I’m sorry about the shoddy photos, I promise to improve my photography as I put more posts up!
The tears are quite big, sewing them up or patching them would have looked really obvious and ugly. Instead I decided to disguise the tears by making some fake pleats or folds to cover them up.
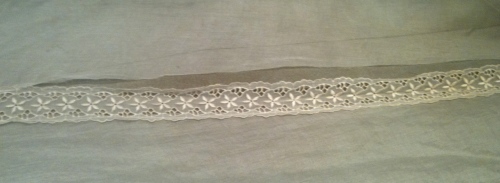
I couldn’t find any organza the near enough in colour to the dress, so as the skirt is full I decided to open up one of the seams by the broderie anglaise inserts and steal a portion of the fabric in the skirt. I used a ruler to draw a straight(ish) line tapering up the seam away from the hemline. If you’re lucky there might be large enough portions of fabric you could scavenge from seams of the inside of the garment without having to cut it.
After chopping the extra fabric off I folded it and ironed it…
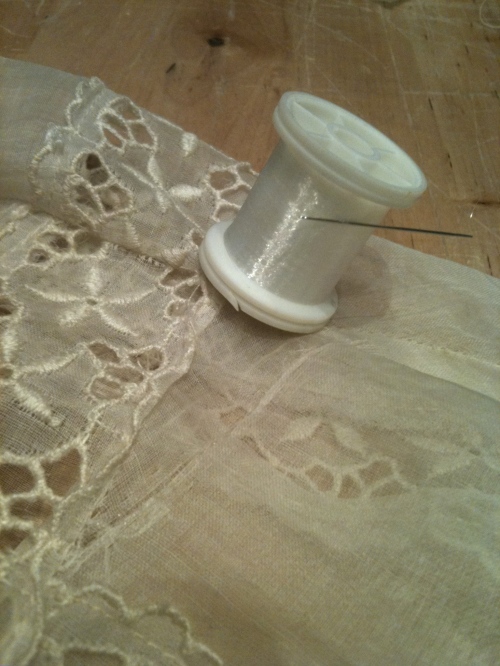
I sewed the edges of the tear together with fine mono filament thread (invisible thread), which i don’t really like but is useful for this because it is see through, fine thread would probably be ok but is more likely to show through the fabric overlay.
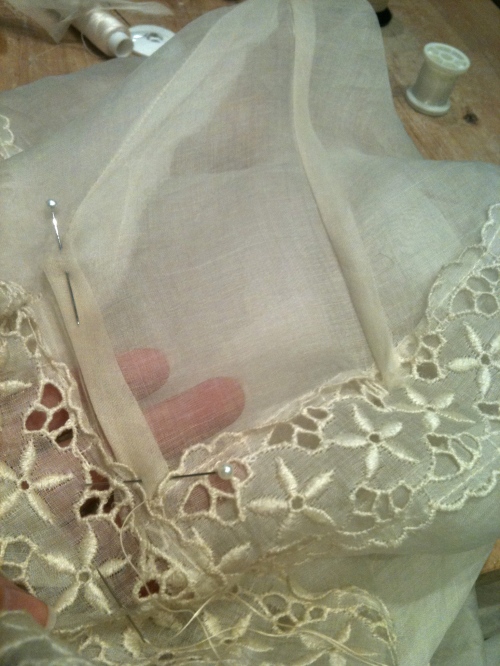
Next I got the doubled over piece of fabric and pinned it in place, wrong side up so that it may be folded down on its self. This is easier seen in the photo than explained! I sewed it into place on a machine but you could do this by hand with back stitch or small running stitches. Chop off the excess fabric so it leaves a small margin.
Next I folded the strip over, back on its self and ironed it down, then folded the ends in to hide them and sewed the folded loose edge to the skirt from the back only going through one layer of the fabric.
Now this side of the dress with the tears in it has been disguised I needed to balance it by doing the same on the other side of the dress so it matches. Its easier on this side as there are no tears to cover, make sure it’s even by measuring the first side and mirroring the design. Don’t forget to sew up the seam from where you cut the fabric of course!
This is the finished back of the dress with the faux pleats in place. Again, sorry the photo’s not brilliant! The skirt is cut on the bias so the splits/pleats are angled down over the hips and look quite elegant and in keeping with the style of the dress. The key to disguising damage in garments is to use similar decorative techniques that were used in the era the dress is from, pin tucks, embroidery, beading, sequins and applique are all really useful as long as you make sure that it looks like it could be part of the design.
Hopefully this will give you some ideas to help rescue something of yours that’s been lingering in the mending pile or the back of the wardrobe!
Bye for now, in the next few posts I’m going to be featuring a gorgeous Edwardian dress and a wonderful 1920’s beaded cocktail dress!


